随着科技的不断进步,手机已经成为现代人生活中不可或缺的一部分,其中iPhone 6s作为苹果公司推出的一款标志性产品,备受人们的喜爱。充电器作为手机的重要配件之一,也成为了我们日常生活中必不可少的存在。而今天我们将通过拆解iPhone 6s充电器的三头,来了解其内部结构以及使用技巧。本文将以图文形式进行详细的教程介绍,帮助大家更好地了解并使用iPhone 6s充电器。让我们一起来探索吧!
iPhone 6s拆解图文教程
步骤如下:
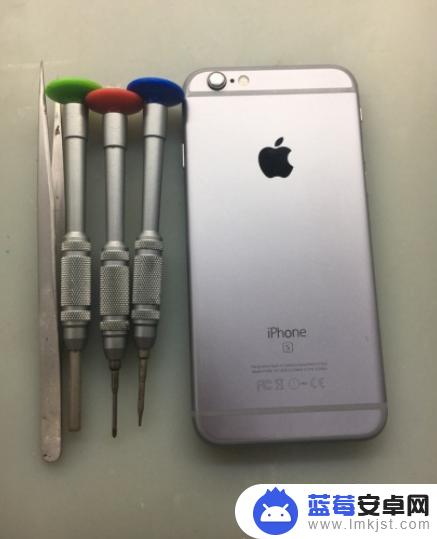
1.准备拆机工具。
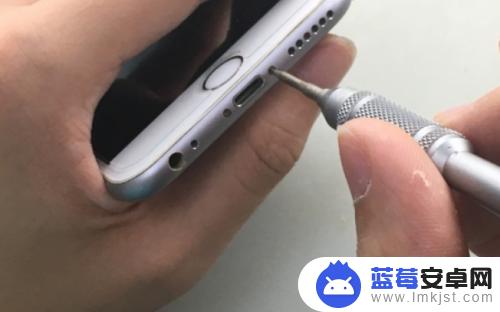
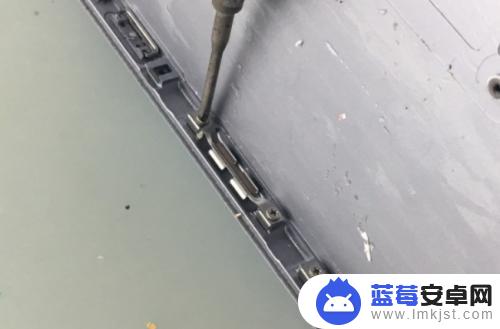
2.首先拆下尾部两颗固定螺丝。
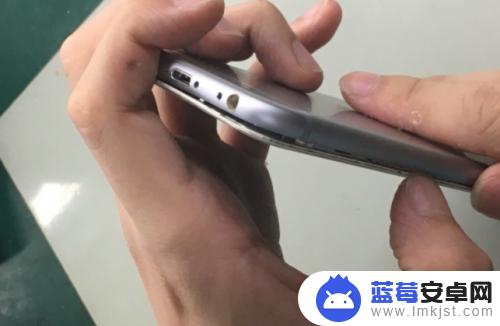
3.然后沿屏幕和后壳的中间缝隙拆开手机。
4.拆开之后,先把电池屏蔽罩拆下,给手机断电。

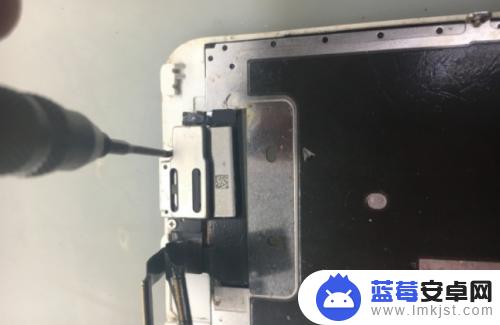
5.拆下屏幕排线屏蔽罩。

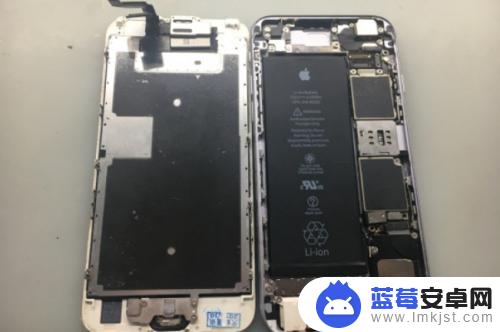
6.后壳与屏幕分离。
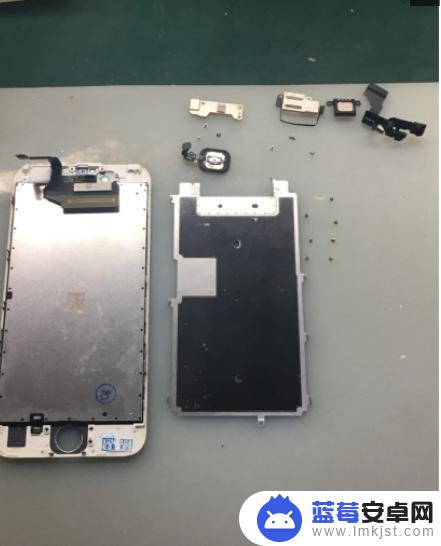
7.分离之后首先来拆屏幕部分,屏幕部分主要是由屏幕总层、金属挡板、前摄像头排线、听筒、指纹键组成 。 首先要拆下前摄像头和听筒。
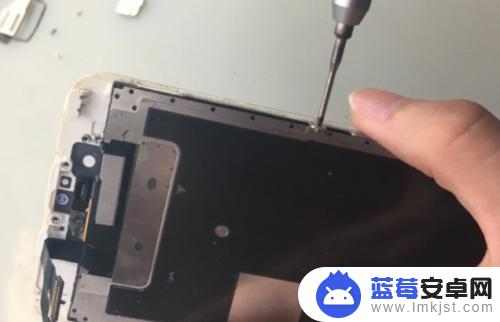
8.然后取下屏幕后面的金属档板。
9.最后取下指纹排线。
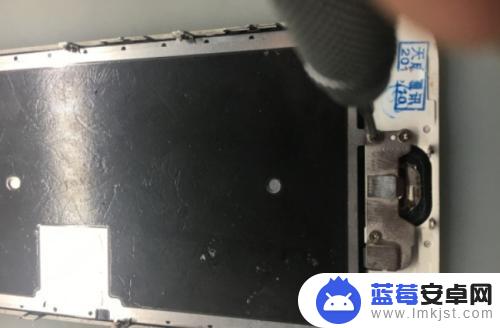
10.屏幕所有组件拆解完成。
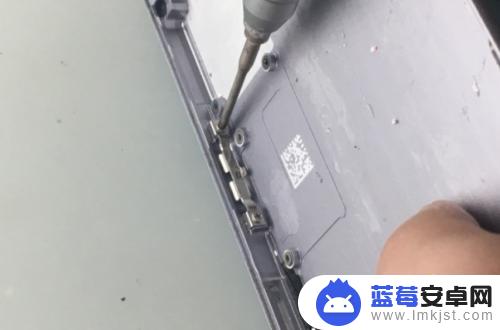
11.接下来拆后壳总成,后壳总层主要由手机主板、电池、振动器、外放喇叭、尾插排线、开机键侧键闪光灯排线(6S开机键和侧键和闪光灯排线是一体的)后摄像头屏幕卡扣。 首先拆下主板卡托。
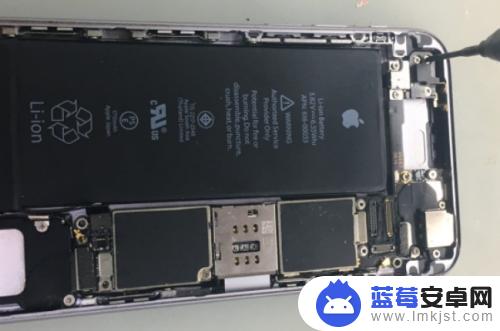
12.拆下主板卡托。
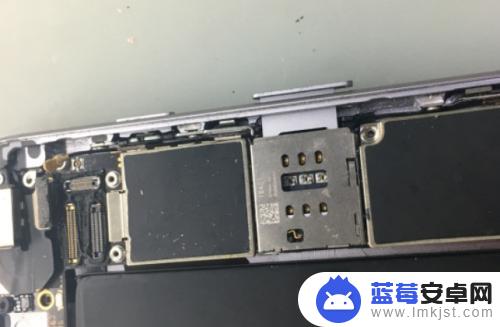
13.顺利拆下。
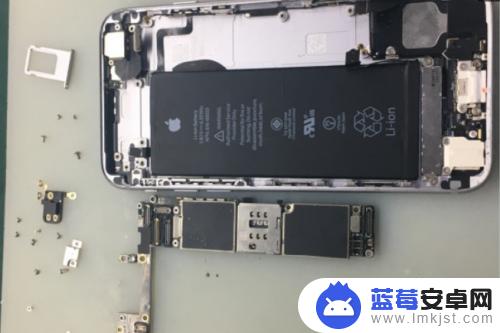
14.接着取下电池。
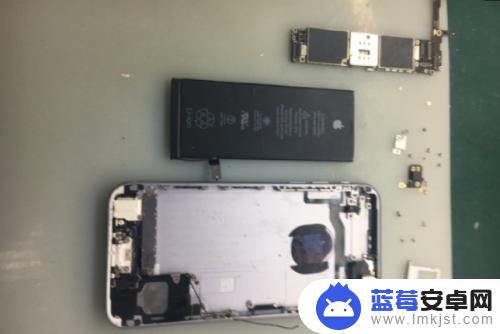
15.现在开始拆下半部分组件,先取下震动和外放喇叭。
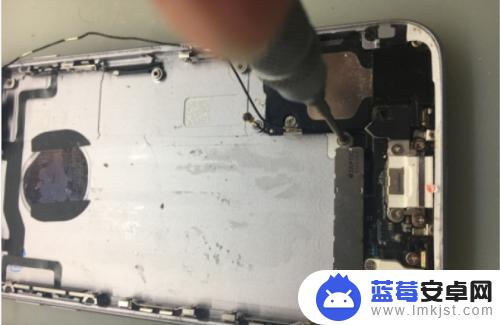
16.取下震动和外放喇叭。
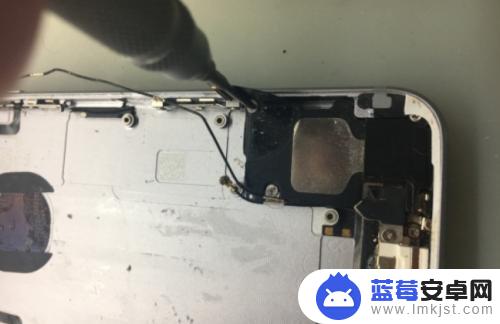
17.接着取下尾插排线(由充电接口、耳机接口、送话器组成)
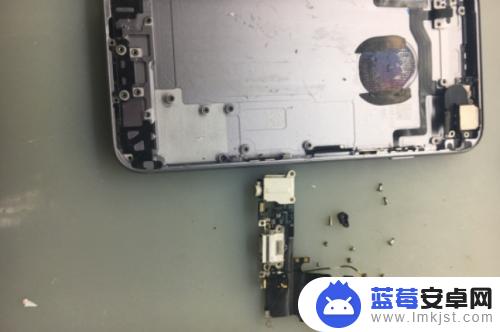
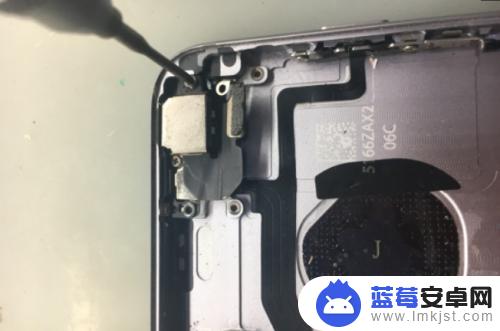
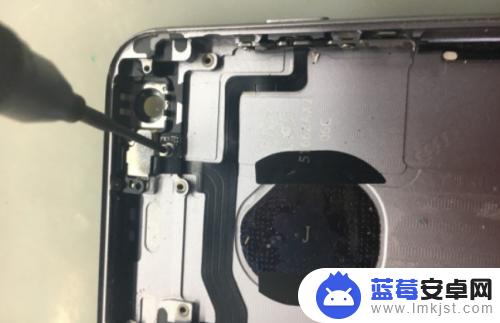
18.这样下半部分就拆解完成了,接下来在拆上半部分,首先拆下后摄像头。
19.接下来拆开机排线(由侧键、开机键、闪光灯组成)。
 20
20拧下螺丝。
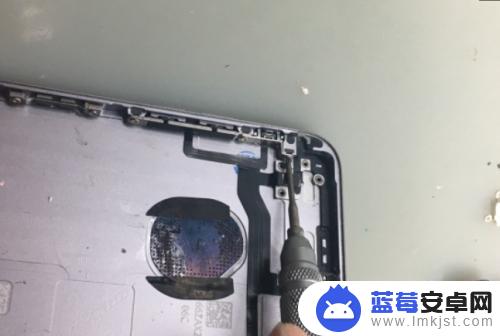
2.1.拧下螺丝。
 2
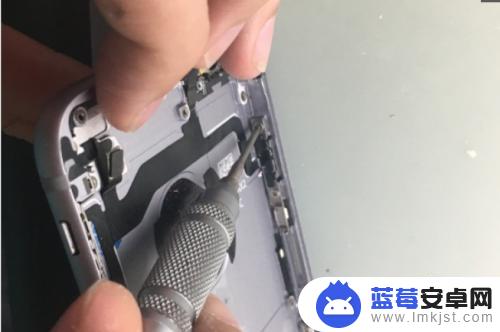
22.取下排线。
 2
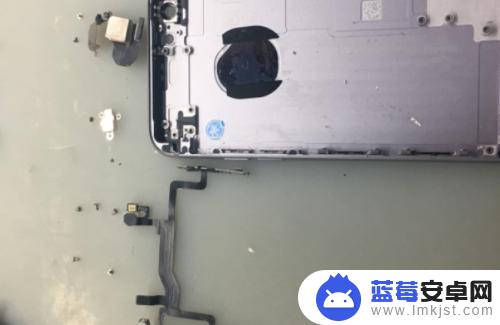
23.最后再把后壳两边的屏幕卡扣拆下来。
 2
24.拆屏幕卡扣。
 2
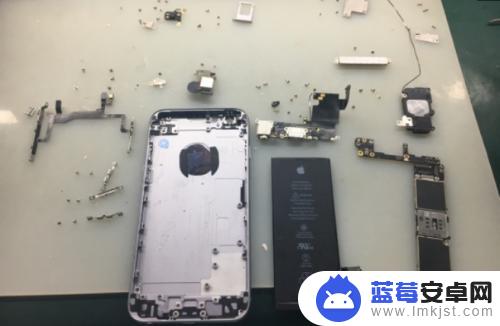
25.这样后壳总成的全部组件就全部拆解完成了,至此。iphone6s拆机完成,附上全家福。
以上是iphone6s充电器三头拆开的全部内容,如果还有不清楚的用户,可以参考我的步骤进行操作,希望对大家有所帮助。