在如今社交媒体充斥着各种美图的时代,如何让自己的照片更加出彩成为了许多人关注的焦点,手机抠图到另一张照片成为了一种流行的修图技巧,让我们能够轻松将自己从照片中抠出来,然后放置到另一张背景图上,实现自己的创意想法。下面就来了解一下手机抠图到另一张照片的教程吧!
手机抠图到另一张照片教程
步骤如下:
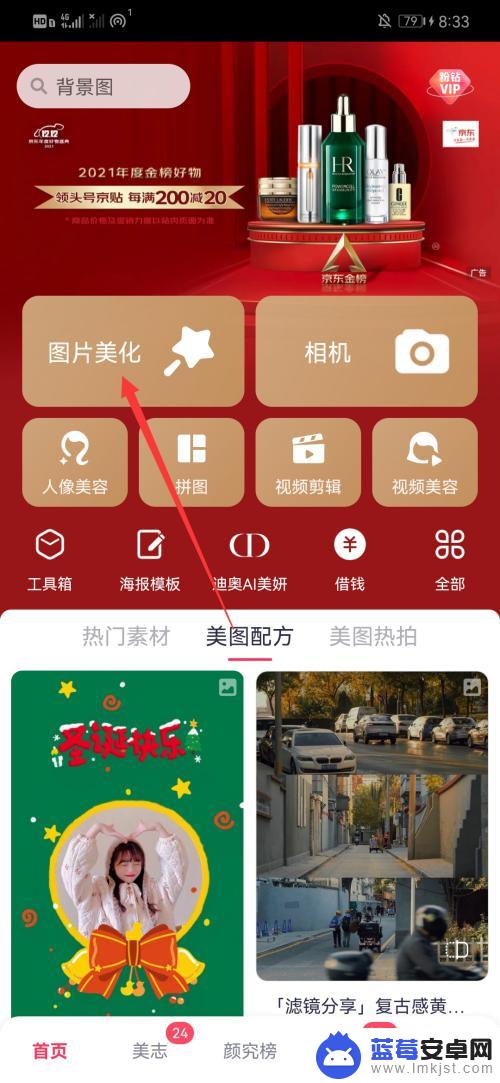
1.点击图片美化
打开手机美图秀秀应用程序,点击图片美化。
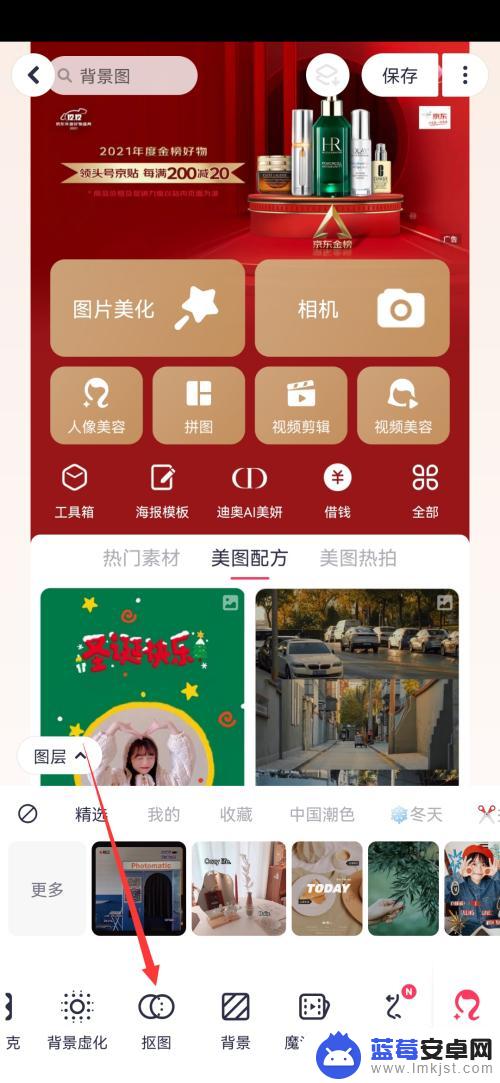
2.选择抠图
选择好图片后,选择下方的抠图。
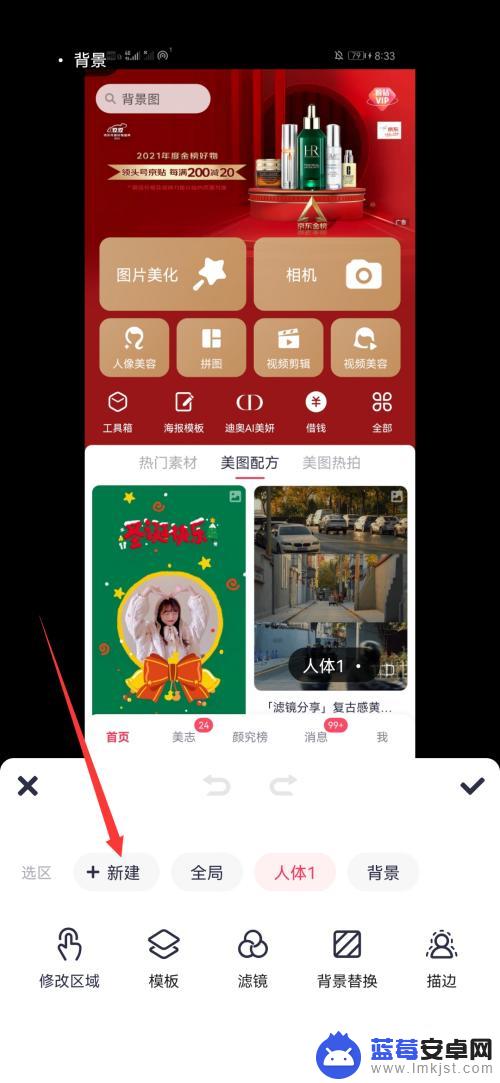
3.点击新建
进入抠图页面后,点击上方的新建。
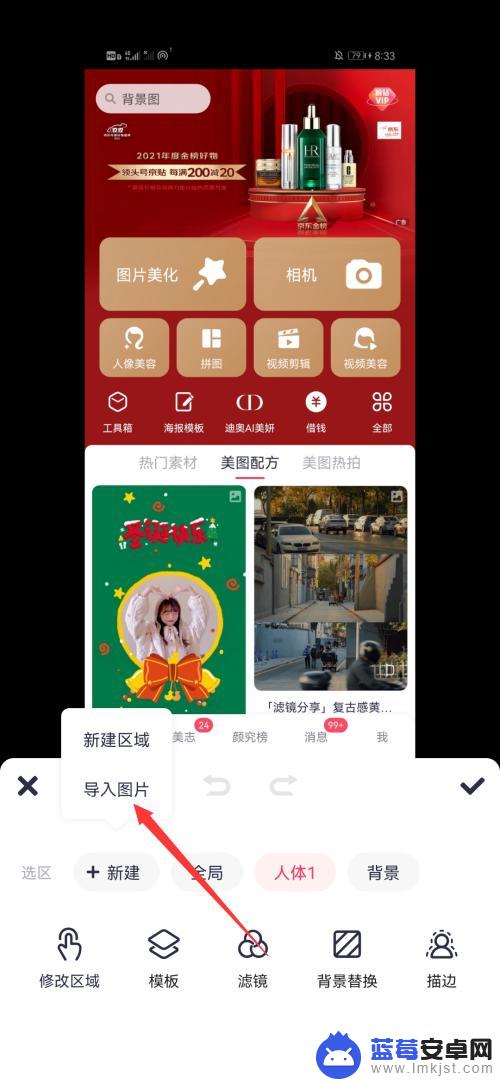
4.选择导入图片
点击新建后,再选择导入图片。
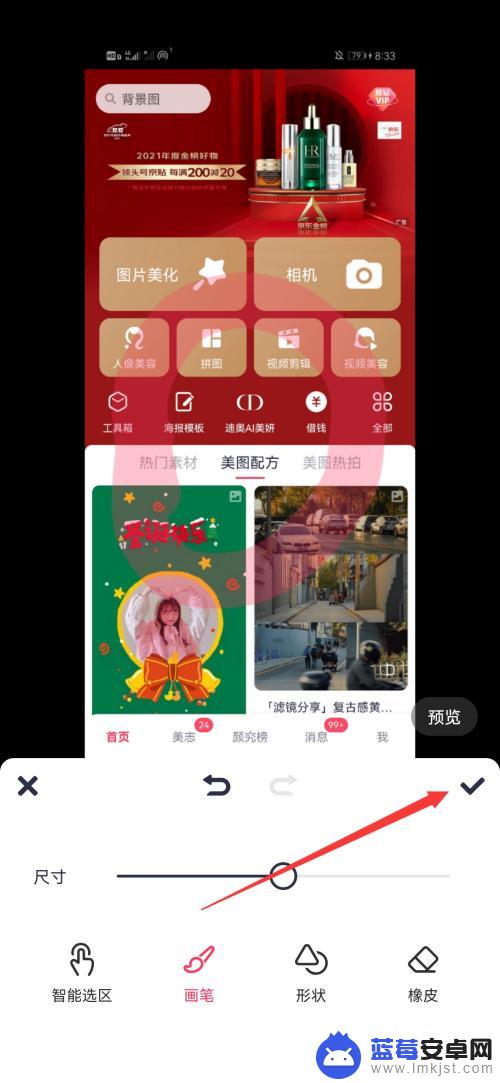
5.点击右上角的勾
导入照片后,选择抠图的区域,点击右上角的勾。
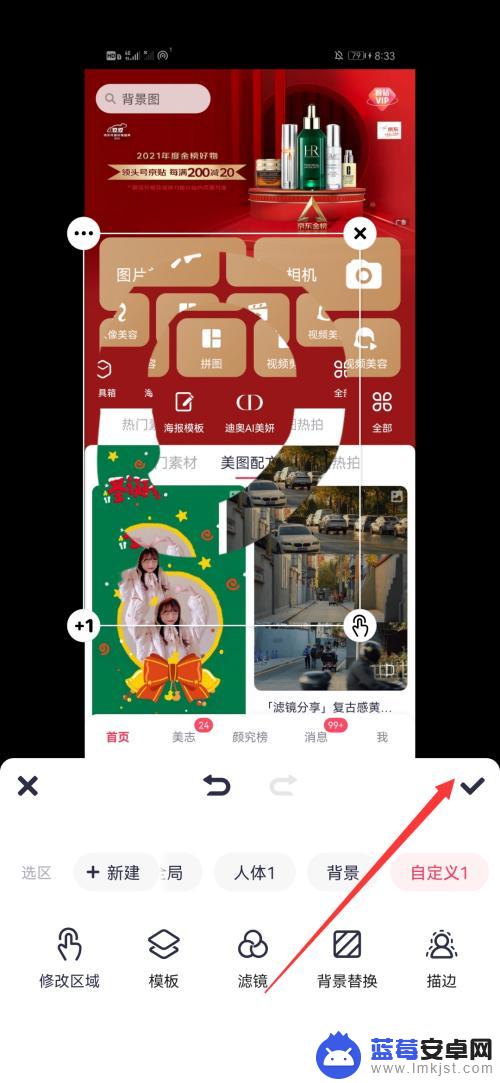
6.放置抠的图
将抠好的图片放置到第一次导入的照片,再点击右上角的勾即可。
以上就是如何截图手机的全部内容,有需要的用户可以按照这些步骤进行操作,希望能对大家有所帮助。